The 8 Monstera Growth Stages
The Monstera Deliciosa is a very unique and creative plant, also called the Swiss Cheese Plant. It is named this because of the big holes, called “monstera fenestrations”, that grow naturally in its large green leaves. These holes make the leaves look like swiss cheese!
This plant originally comes from the rainforests in Central America, where it grows very large by climbing up trees and structures. But now Monstera is a popular houseplant all over the world.
As I nurture my own Monstera at home, it helps to understand the various life stages it goes through.
I have explained the sought-after Monstera deliciosa growth stages—from seed germination to maturity.
Monstera Growth Stages
The Monstera deliciosa journey begins when a seed germinates and emerges as a tiny, delicate seedling. The young plant gradually ages, gaining its characteristic fenestrated leaves and growing into a magnificent, elegant houseplant.
For more information more about kitchen garden you can visit: Life Cycle Of A Strawberry Plant
Let’s look closer at each distinct stage.
1. Germination
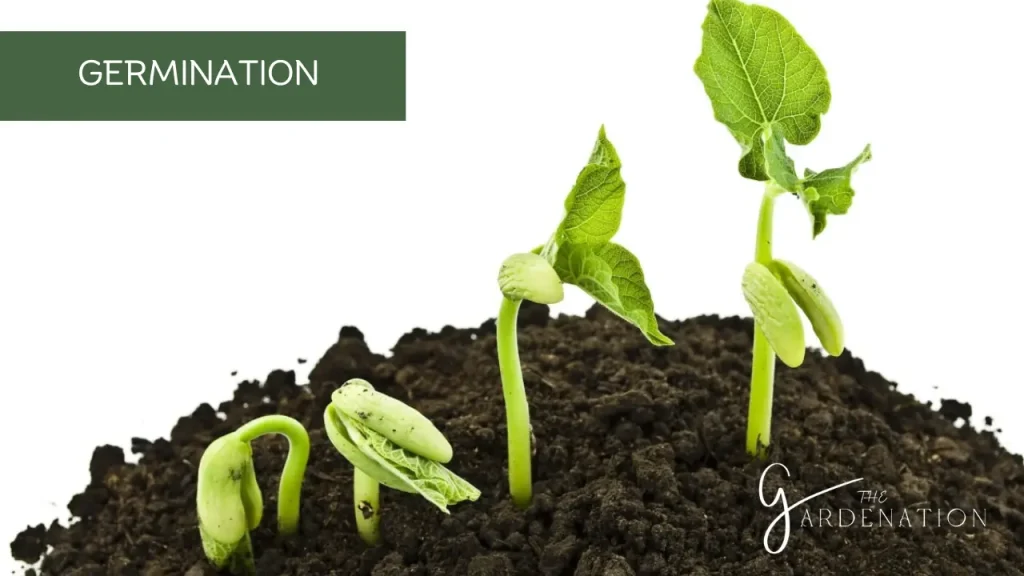
I choose plump, viable Monstera seeds as the starting point. Provided warm conditions of around 25°C and high humidity, planting seeds shallowly in the seedling mix. In these ideal settings, taproots emerge within 4-6 weeks.
I didn’’t let the soil dry out during this critical phase. Immediately post-germination, I transferred Monstera seedlings into small pots.
2. Seedling Stage
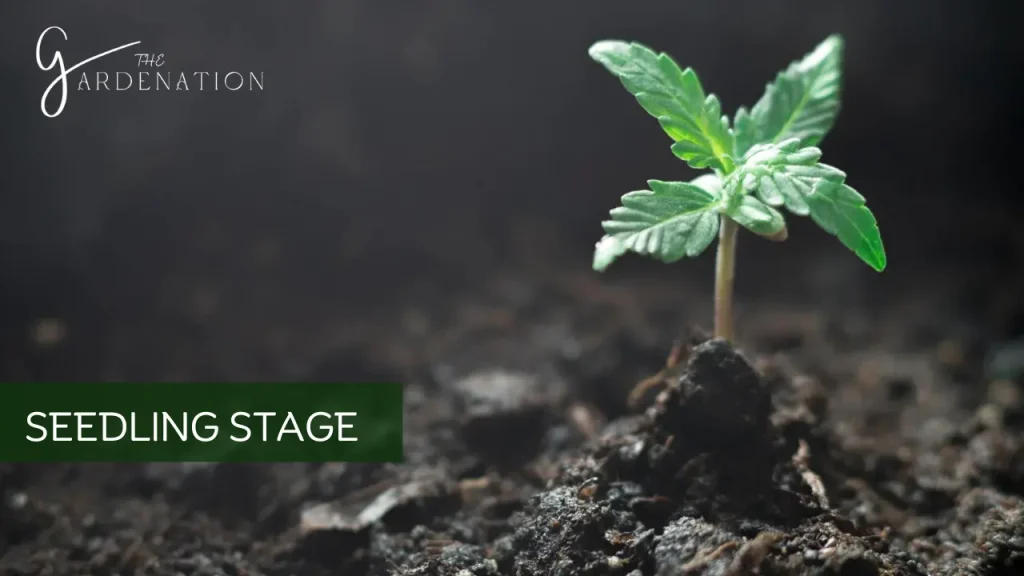
As a monstera deliciosa seedling establishes, the plant remains vulnerable and requires bright, filtered light and consistent moisture. Yellowing leaves and reduced growth are common signs of excessive light or insufficient watering.
With their tiny, heart-shaped leaves on thin stems, seedlings of Monsteras show little similarity to mature plants. Don’t be discouraged by the slow pace—focus efforts on healthy foundational growth same as we have discussed about watermelons growth in: Watermelon Plant Stages
3. Juvenile Phase
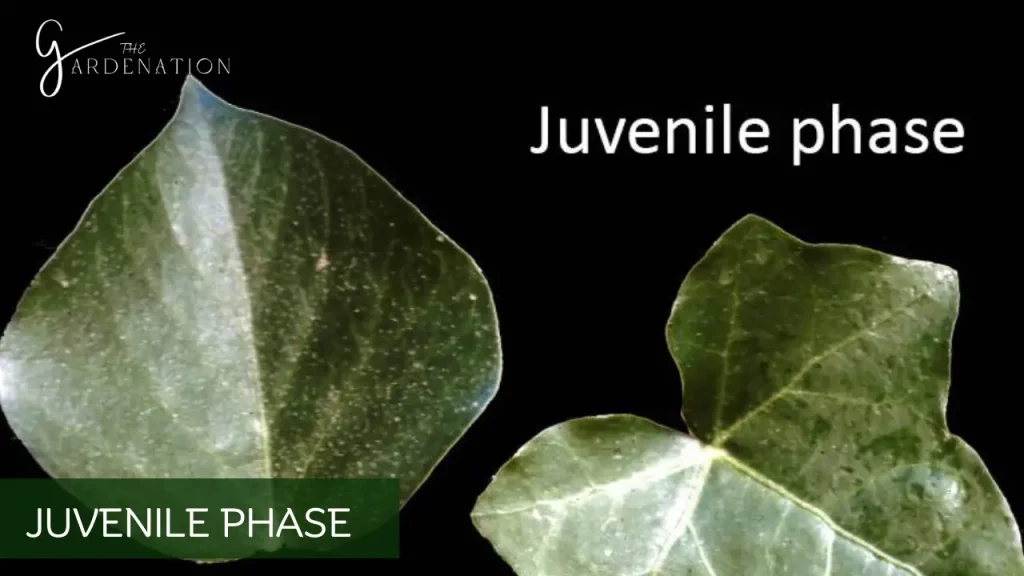
The juvenile phase spans 1-3 years. Stems stiffen, leaf size increases, and the iconic Monstera lobed shape starts to emerge. As plants mature, I increased light exposure and allowed the top inch of soil to dry between waterings.
I had to remain attentive though, as water stress can still impact growth. Also, I applied a balanced liquid fertilizer monthly during spring and summer.
4. Mature Growth
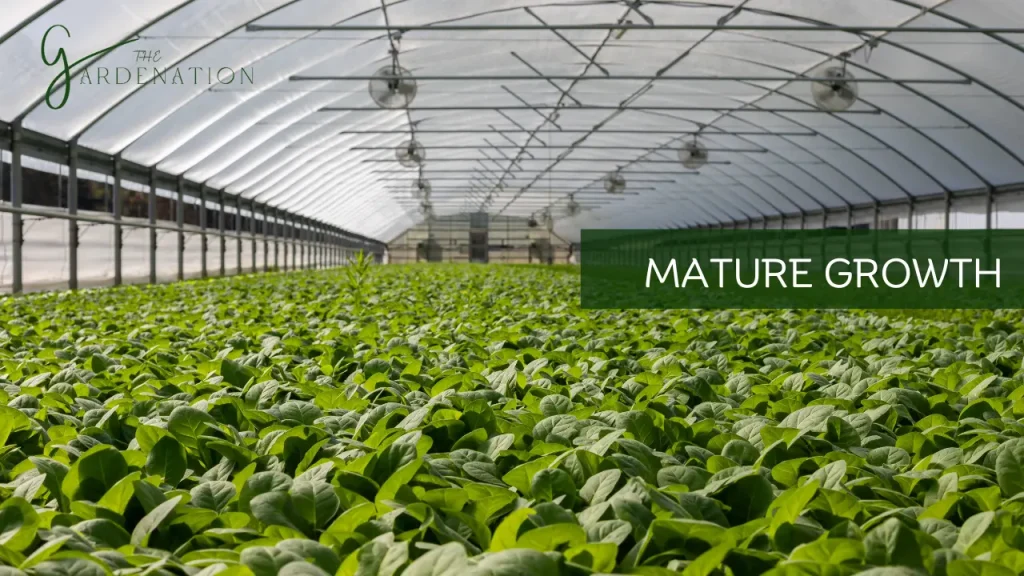
A mature Monstera delivers those Insta-worthy fenestrated leaves. The plant climbs via aerial roots that grab onto supports like moss poles. Ideal circumstances will result in remarkable height gain. Leaves reach the classic split leaf form, which enhances light and air exposure.
Plus, there’s a strong jungle attraction to the architectural style!
I provided indirect or brightly filtered light while avoiding the midday sun, which can scorch leaves.
5. Monstera Fenestration
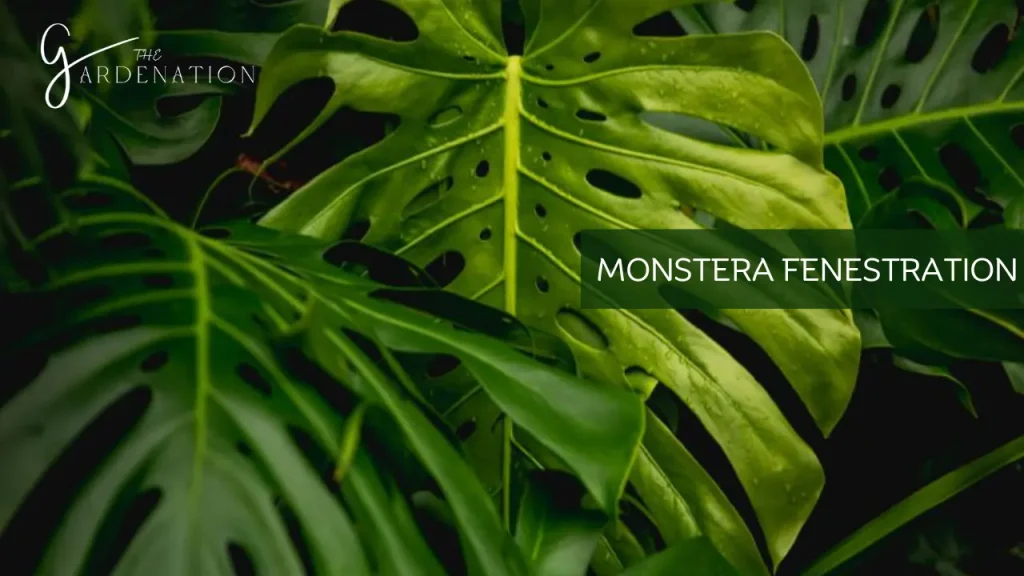
That fabulous leaf splitting, technically called “fenestration”, results from specialized cell growth. As leaves expand, cells restrict expansion in strategic spots creating gaps aka windows.
Older bottom leaves generally unfurl first. Insufficient light often limits fenestration so I tried to increase exposure gradually as plants matured. Additionally, I provided high humidity to boost the process since drier air causes cells to harden and resist opening.
6. Flowering
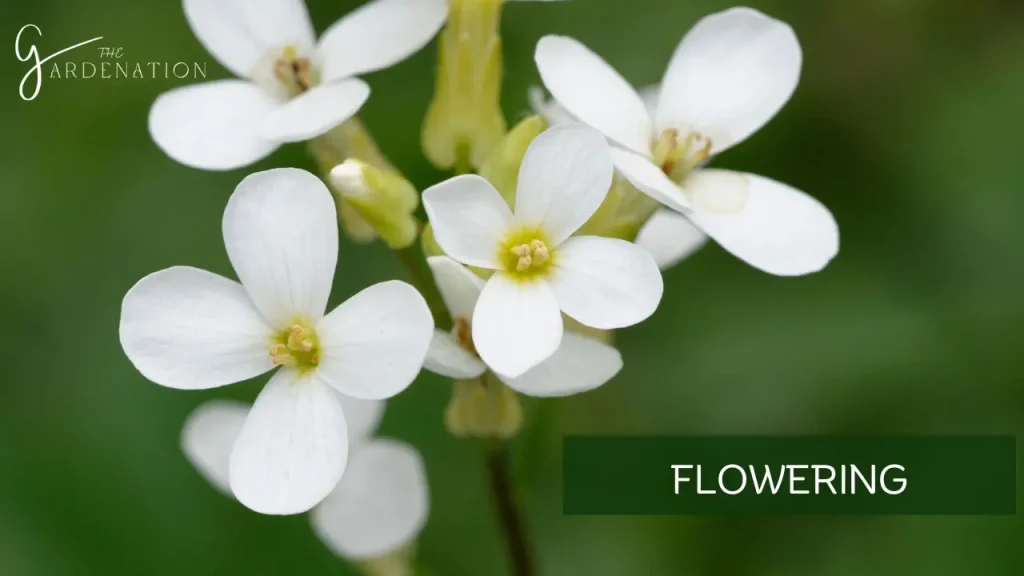
The monstera, known for its iconic leaves, experiences a visually stunning phase – flowering. While not an everyday occurrence, monstera flowers are a rare delight, showcasing cream-colored spadix enveloped in a white spathe. To achieve this stage in indoor cultivation I provided my Monstera with optimal conditions like balanced light, humidity, and nutrients. When I started to witness monstera flowers that meant a mature and content plant. You will also find the seed germination of Jalapeno interesting!! Do Checkout: Jalapeño Growth Stages
7. Pollination
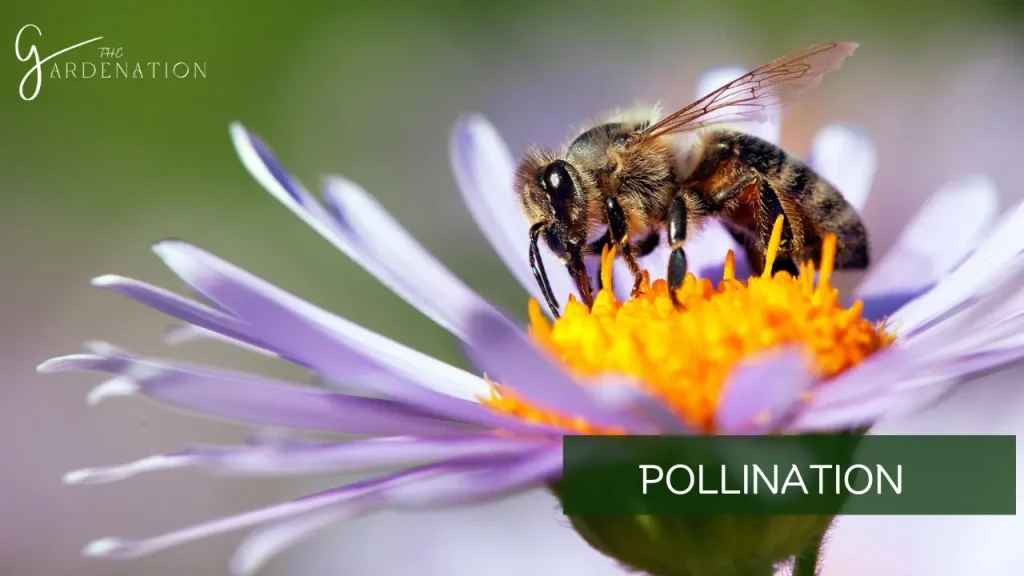
In the wild, Monstera growth relies on nocturnal pollinators like moths. However, in my indoor settings I provided manual assistance. Caretakers gently transfer pollen to facilitate pollination. This crucial stage sets the groundwork for potential fruit development, emphasizing patience and observation.
8. Fruit Development
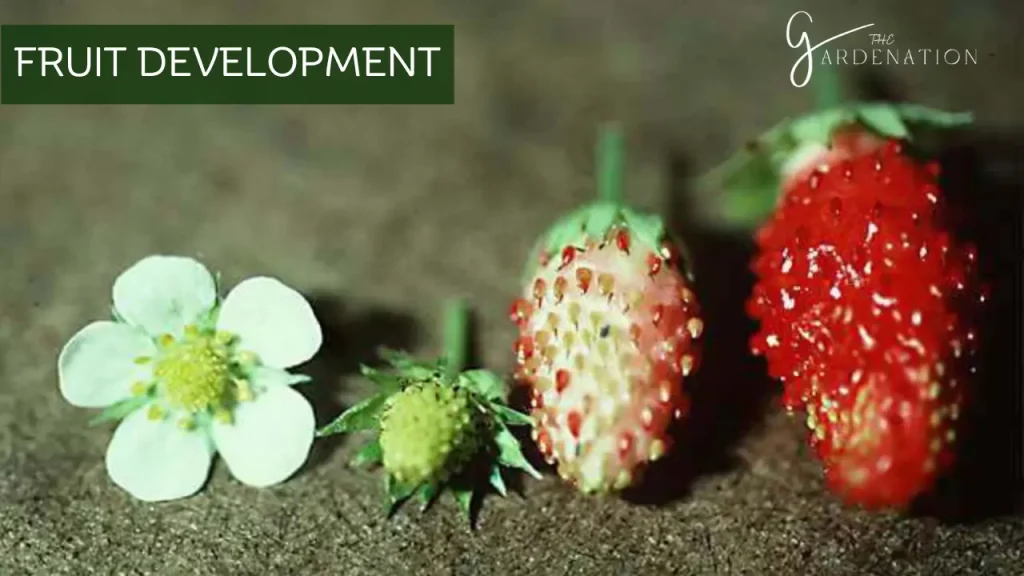
After successful pollination, the monstera enters its final growth stage – fruit development. The “monster fruit” emerges, a cluster of green hexagonal scales that mature into a succulent, edible delight. Not all indoor Monstera plants bear fruit, requiring favorable conditions, proper care, and a bit of luck.
Monstera Seeds: Germination and Beyond
Furthermore, in monstera growth stages, propagating Monstera deliciosa from seed rewinds the clock, letting you orchestrate every stage. Choosing ripe fruits harvested when yellowing ensures optimum seed viability. Still, success rates vary wildly.
Here are some tips:
Stratification Process
Description: I understand the importance of seed stratification for improved germination.
Procedure: I then loosely wrap seeds in damp paper towels and store them in the fridge for 30-60 days.
Purpose: Mimicking the natural seed journey, enhancing the germination process.
Planting Seeds
Depth and Medium: Plant seeds in sterile, well-draining starting mix at a depth of 1⁄4 to 1⁄2 inch.
Covering Seeds: Explain the necessity of covering containers with plastic to retain moisture.
Optimal Environment: I placed the containers in a warm environment (70-80° F) to facilitate germination.
Germination Period
Duration: Germination takes 4-8 weeks or potentially longer.
Post-Germination Care: Once sprouted, I uncover the seeds, and provide adequate light, and I try acclimate to normal indoor conditions.
Transplanting Seedlings
Timing: Transplant seedlings when the second set of leaves hardens.
Choice of Mix: Use potting mix amended with compost to provide essential nutrients and support establishment.
Understanding Monstera Fenestration
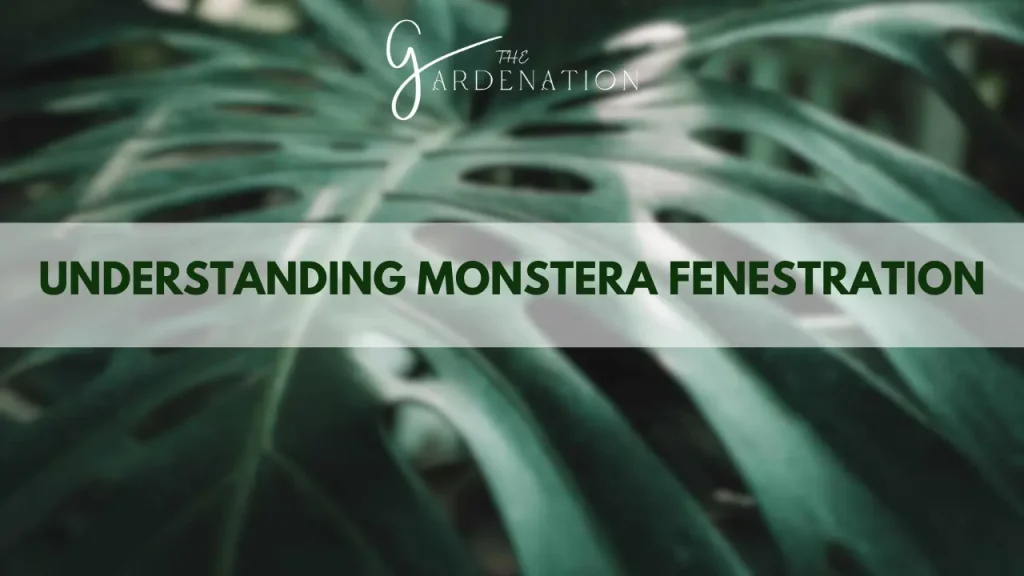
Besides adding visual intrigue, those iconic holes serve important biological functions for Monstera deliciosa. Splitting enhances exposure allowing more light to penetrate leaves fueling photosynthesis and growth.
Gaps also permit better air circulation and gas exchange. Augmented environmental interactions let large foliage thrive as climbing vines or tree dwellers in the wild rainforest habitat.
In home settings, monitor fenestration patterns to assess plant health. Insufficient light often limits leaf splitting. Slow unfurling or smaller leaf size also indicates suboptimal conditions. Troubleshooting issues early helps majestic Monstera growth reach its full potential.
Caring for Monstera Deliciosa Seedlings
1. Selecting the Potting Mix
As I covered earlier, Monstera seedlings demand special care to establish strong roots and foliage. When choosing a potting mix, I use a well-aerated mix made specifically for starters and ensure it provides drainage via holes in the nursery pot.Then I amend it with compost to add some nutrients to support healthy growth.
2. Providing Adequate Lighting
In terms of light conditions, Monstera seedlings need bright indirect light for around 16-18 hours per day. I site them in an east or west facing window to avoid harsh direct sunlight that can burn tender new leaves.
Also, I pay close attention to leggy growth as it indicates insufficient sunlight. Then I adjust the seedling’s location to provide brighter filtered light if this occurs.
Watering Practices
When it comes to watering, I aim to keep the soil mix moderately moist.I water the potting mix once the top inch becomes dry. To boost humidity around the seedling, I add pebbles to the tray under the nursery pot. High humidity supports healthy growth.
Then, I monitor for signs of overly damp conditions like fungus gnats or mold growth on the soil surface. I allow the top of the potting mix to fully dry out between waterings if this occurs.
Monstera Fertilizer Application
I began fertilizing Monstera seedlings at 3 months post-germination using quarter strength balanced fertilizer. Then I slowly increase the Monstera fertilizer over time, working up to full strength applications as seedlings mature and establish.
Robust early foliage growth truly forms the supporting foundations that will one day become impressive towering Monstera Delicisosa.
5. Transplanting and Support
I repot Monstera seedlings between 6 to 12 months from germination as roots grow rapidly requiring more space. When transplanting,I carefully handle young seedling roots to avoid disturbing tender new growth. Then, I slowly transition them into the larger pot, keeping root disturbance to a minimum.
I use plant supports such as moss poles and stakes once 3 to 4 adult Monstera leaves emerge in order to train stems to climb the supports as they lengthen.
Frequently Asked questions
How long does it take for Monstera deliciosa to mature?
Monsteras typically reach maturity with impressive fenestrations around 3-5 years old. However, the timeline depends largely on growing conditions and plant size at time of purchase. I Consistently provide ideal care at each growth stage that helps my Monsteras progress to stay on a vigorous, healthy track.
What causes holes in Monstera leaves?
The distinct leaf splitting called fenestration results from specialized cell growth during the leaf expansion process. Cells adjacent to the main veins restrict expansion in key spots which creates gaps, while cells between continue enlarging. This enhances light and air exposure which benefits the large leaves and plant growth overall.
Why are my Monstera leaves not splitting?
Insufficient light exposure often causes limited or absent fenestration. As maturing Monsteras size up, I increased light gradually to levels just shy of direct sun which can burn leaves. Additionally,I avoided inconsistent moisture which can cause water stress and may hinder leaf splitting.Also, I tried boosting humidity levels as well since drier air also toughens expanding cell walls preventing openings.
How to make Monstera grow faster?
I provided bright, indirect sunlight and rotated the plant to expose all sides. Also, I used a moss pole or trellis for support so the aerial roots can cling and climb upwards. I repotted in a slightly larger pot with a well-draining soil mix when it started becoming root bound. I watered thoroughly when the top inch of soil was partly dry. Also, I tried to boost humidity around the plant through misting, pebble trays or a humidifier.
Moreover, I fertilized regularly in the growing season with a diluted balanced liquid Monstera fertilizer. Meeting the Monstera seeds’ light, humidity, soil, water and nutrient needs fuels vigorous growth for a larger, healthier plant.
Conclusion
I hope this guide to the various Monstera deliciosa growth phases—from vulnerable Monstera seedling to statuesque maturity—provides helpful insights into the unique needs and transformation timeline for these captivating plants
Understanding the changes occurring both visibly and below the soil surface at each stage allowed me to offer tailored care. Perhaps you’ll try sprouting your own seeds to experience the full life cycle hands-on!
Regardless of where you are in your own Monstera growth stages journey, remember that embracing the process can be just as rewarding as the destinations.

2 Comments